One thing that gives me immense fulfillment in my work is to help others who are new to photography. I’ve learned a few tips, tricks and processes over the years and passing that knowledge on is a huge source of signal for me. I’ve critiqued countless photos over the years for workshop students, photo clubs, judging photo contests, and even the occasional emailer. Through having my images critiqued over the years and critiquing others images, I’ve learned a lot about what makes an image speak to those who view it.
Some of these are obvious to some while not so obvious to others. Some are simple, some more advanced. The point is that nearly all the compelling travel photos I’ve seen contain these 5 critical ingredients. Ok, let’s go.
1) Straight Horizon

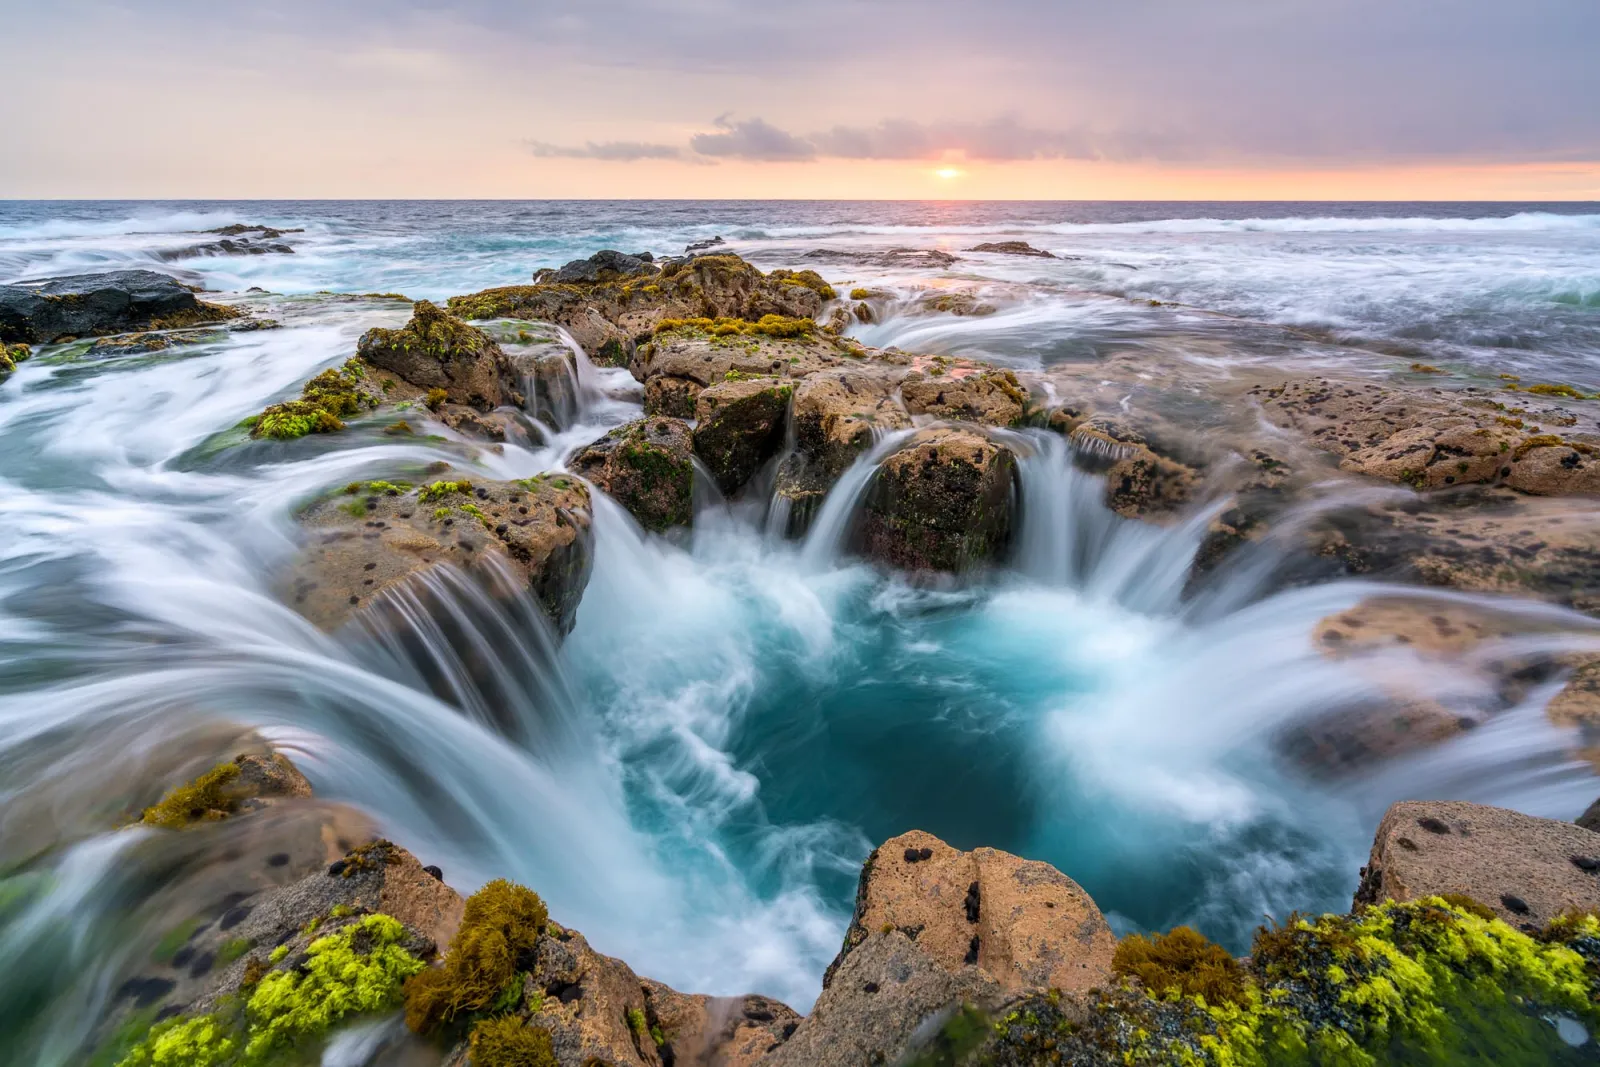
A tilted horizon is one of the fastest ways to undermine an otherwise strong image. Our eyes and brains are wired to expect the horizon to be level — it’s how we orient ourselves in the physical world. When it’s off, even slightly, viewers feel a subtle sense of unease without necessarily knowing why.
This is one of the most common mistakes I see in travel photography, and it’s also one of the easiest to fix. Most cameras have a built-in level grid you can enable in the viewfinder or on the LCD. Take a second to use it. In post-processing, straightening a horizon takes about five seconds in Lightroom or any other editor.
2) A Clear Subject
Every compelling photo has one thing it’s “about.” One primary subject that draws the eye and anchors the composition. Without a clear subject, viewers don’t know where to look, and the image feels busy or aimless.
This doesn’t mean your subject has to be a person or a single object. It could be a mountain peak, a doorway, a pattern of light — anything that clearly dominates the frame and gives the image a sense of purpose.
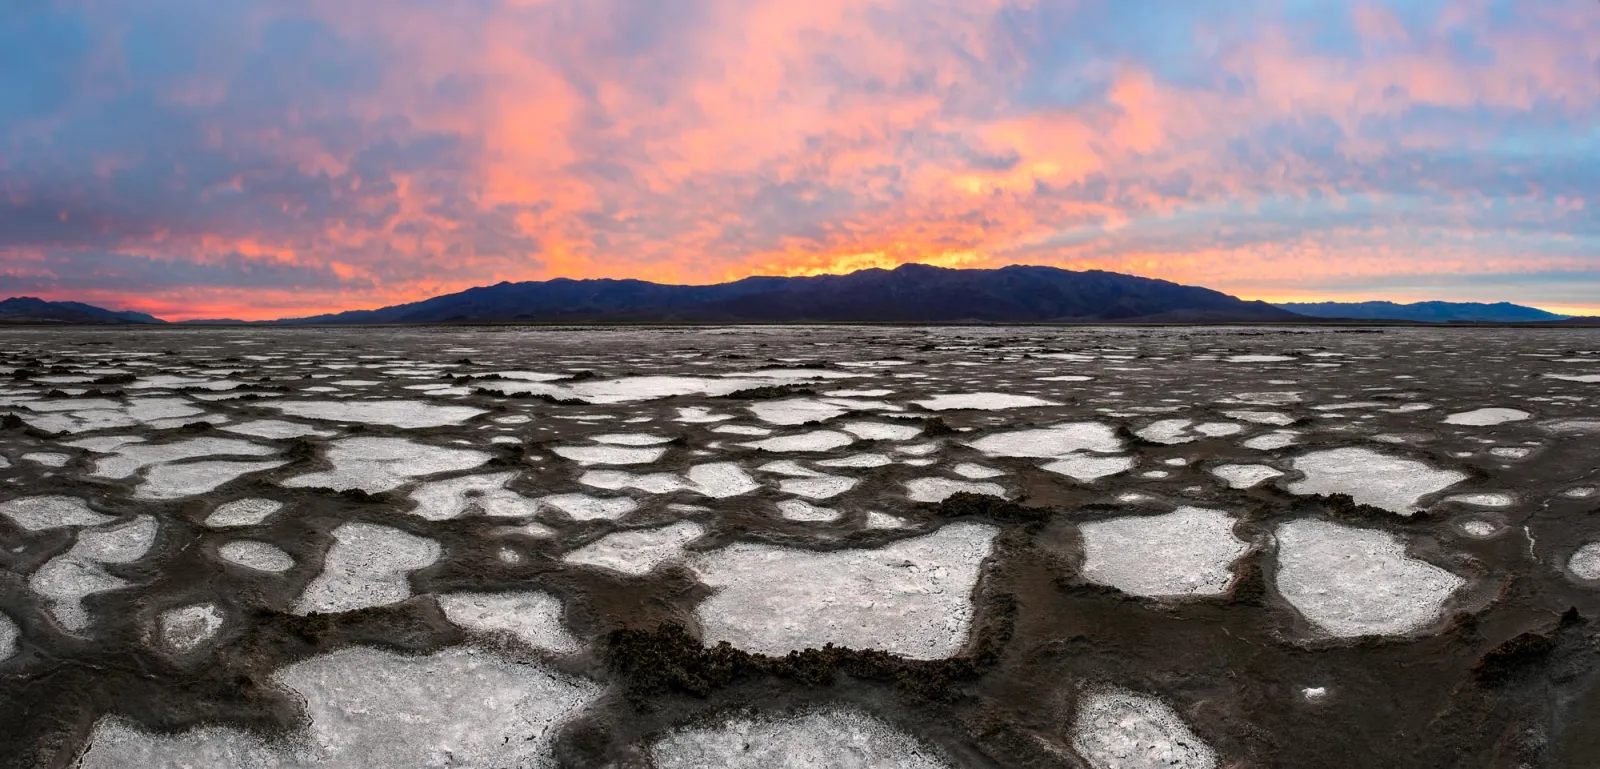
When you’re composing a shot, ask yourself: what is this photo about? If you can’t answer in one sentence, simplify.
3) Quality of Light
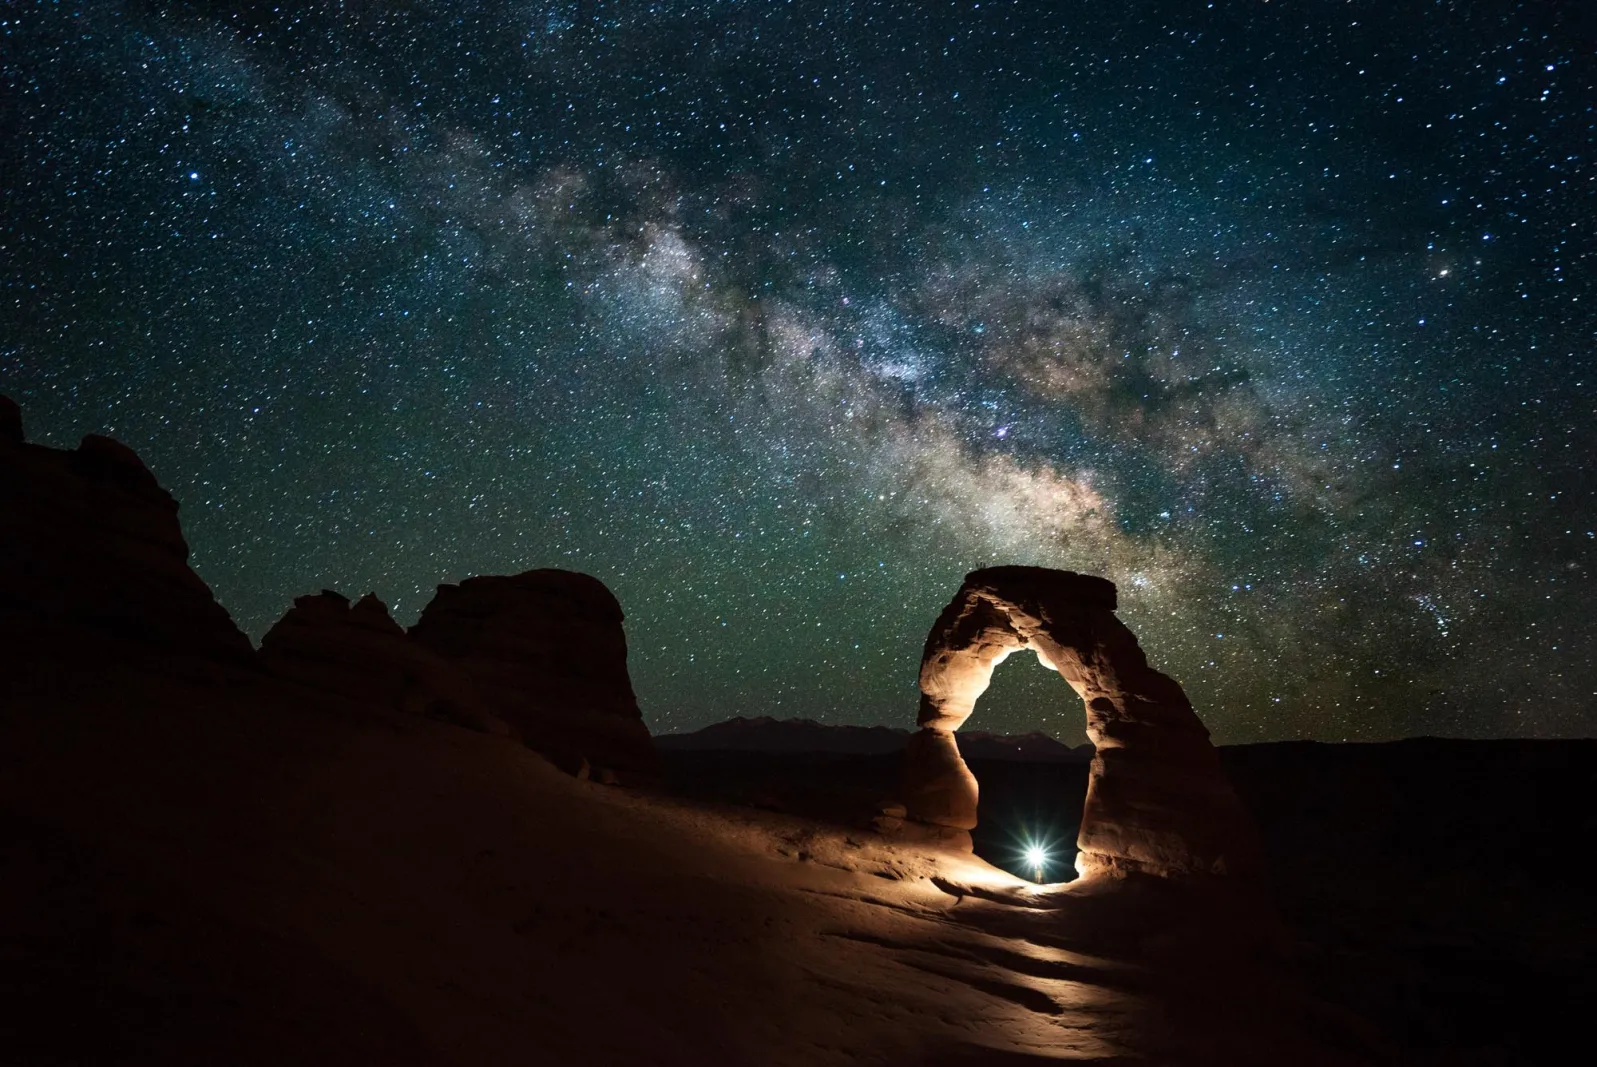
Light is everything in photography. The same scene can look flat and lifeless at noon and absolutely stunning at golden hour. Travel photographers who consistently get great shots aren’t just lucky — they’re strategic about when they shoot.
The best light is typically found in the hour after sunrise and the hour before sunset. The light is warm, directional, and soft. Overcast days can also produce beautiful, even light that works especially well for certain subjects like forests, waterfalls, and street scenes.
Midday light — especially in summer — tends to be harsh, contrasty, and unflattering. If that’s your only option, look for shade, or find subjects that work with strong contrast.
4) Foreground Interest
One of the most effective techniques for creating depth and immersion in a landscape or travel photo is using foreground interest. By placing something visually interesting in the near foreground, you create a sense of three-dimensionality that draws viewers into the scene.
This could be rocks, flowers, patterns in sand, reflections in a puddle — anything that sits in the bottom portion of your frame and leads the eye toward the background subject.
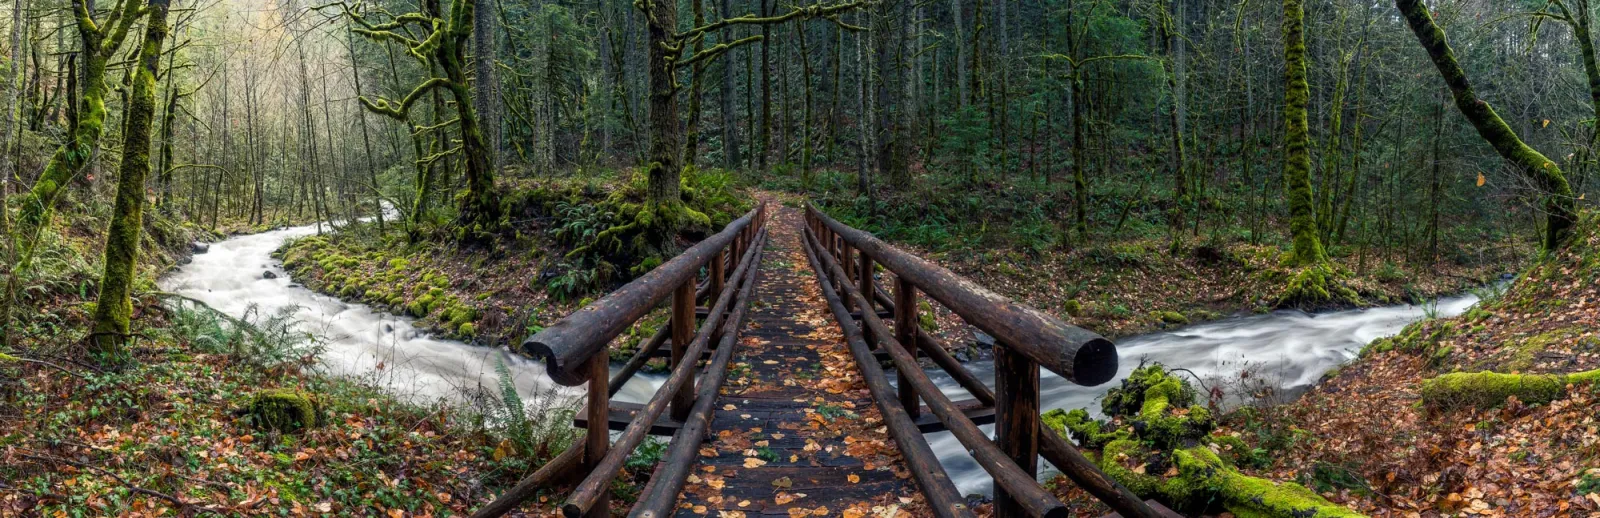
Wide-angle lenses are especially good for this technique because they exaggerate the apparent size of nearby objects relative to the background, making the foreground element feel both large and close while the background stretches out behind it.
5) Post-Processing With Intent
Great travel photos rarely come straight out of the camera looking their best. A little thoughtful post-processing can take a technically solid shot and turn it into something truly memorable.
The key word here is intent. Know what feeling or mood you’re going for before you start editing. Are you trying to create a warm, nostalgic feeling? A cool, moody atmosphere? A bright and airy look? Let that guide your decisions in Lightroom, Capture One, or whatever tool you use.
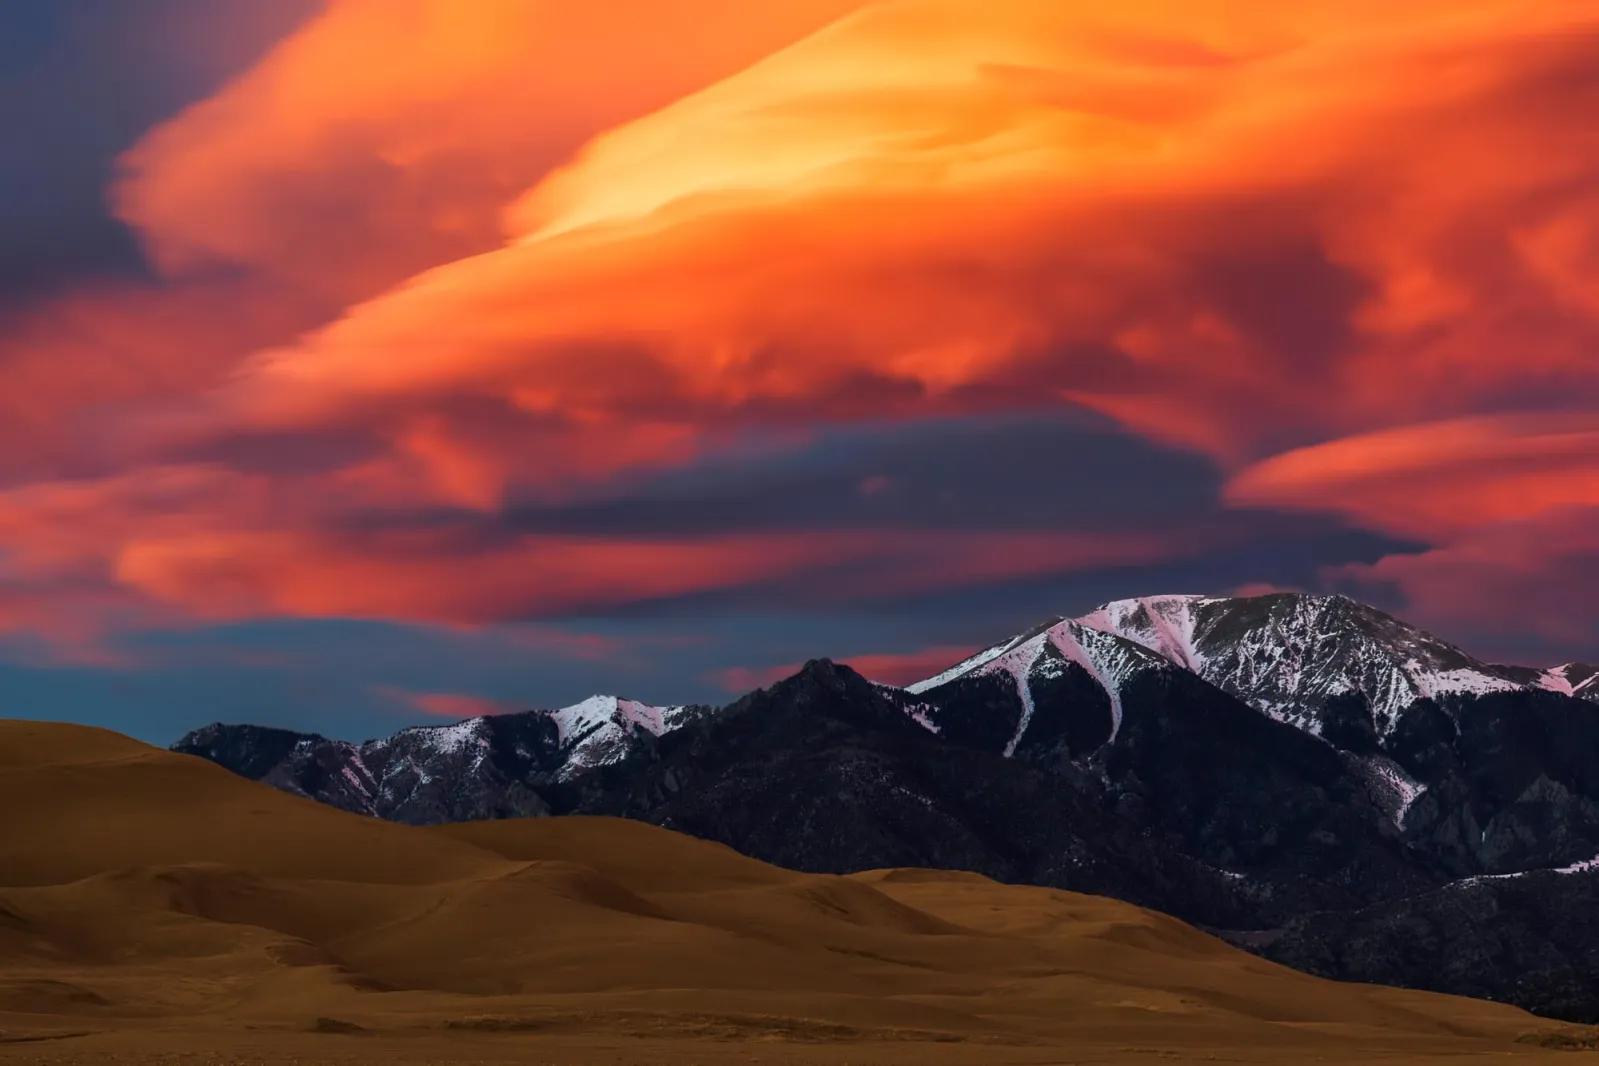
Avoid over-processing. Heavily cranked clarity, overly saturated colors, and extreme HDR effects date quickly and distract from the subject. Instead, aim for edits that feel natural but elevated — the best version of what the scene actually looked like.
These five ingredients won’t guarantee a great photo every time, but they’ll dramatically improve your hit rate. The more you internalize them, the more naturally they’ll show up in your shooting — and eventually, you won’t have to think about them at all.