One of the most common questions I get from newer photographers is some version of: “What settings do you use?” It’s a fair question. When you’re traveling, with new locations, unpredictable light, and moments happening fast, having a solid settings foundation lets you focus on composition and timing instead of fumbling through menus.
So let’s break it down. These aren’t rigid rules, but they are the starting points I come back to again and again on the road.
Shoot in RAW (Not JPEG)
Before we talk about any specific settings, this one matters more than all of them combined. RAW files preserve everything your sensor captures, giving you far more flexibility in post-processing. If your exposure is slightly off or your white balance isn’t quite right, a RAW file gives you room to recover it. A JPEG doesn’t.
If your camera supports it, shoot RAW. If storage is a concern, most cameras let you shoot RAW + JPEG simultaneously so you have both.
Aperture: Match It to Your Intent
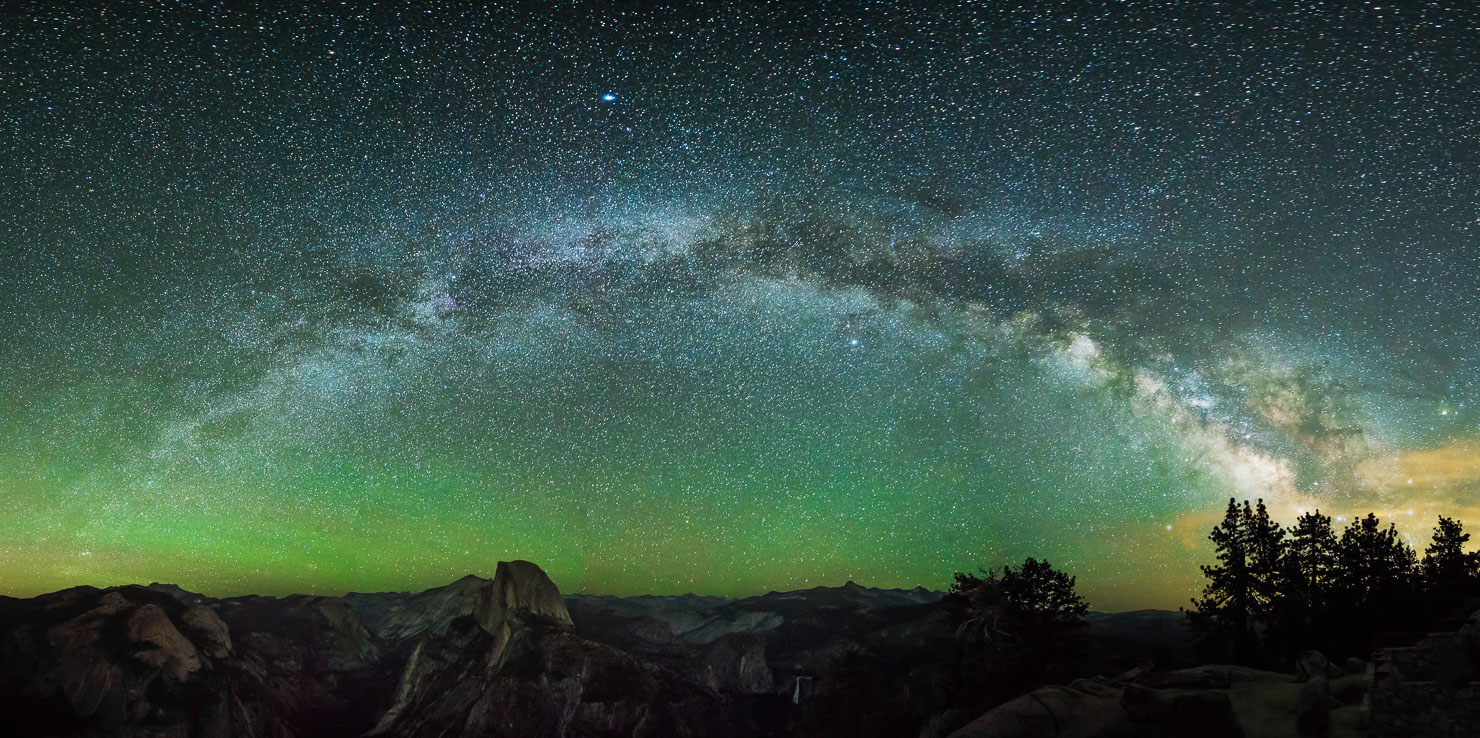
Aperture is probably the setting that has the biggest creative impact on a travel photo. A wide aperture like f/1.8 or f/2.8 gives you a shallow depth of field, which is great for portraits or isolating a detail against a blurred background. A narrow aperture like f/8 or f/11 keeps the entire scene sharp, which is what you generally want for landscapes and architecture.
A good default for travel landscapes is somewhere between f/8 and f/11. This range tends to hit the sweet spot for most lenses, sharp across the frame without diffraction softening the image.
For street or documentary-style travel shots, f/5.6 is often a solid middle ground: enough depth of field that most of your scene is sharp, while still letting in a reasonable amount of light.
Shutter Speed: Freeze It or Use It
Shutter speed controls whether motion looks frozen or blurred. For most handheld travel shots, you want a shutter speed fast enough to avoid camera shake. A general rule is to shoot no slower than 1/focal length. So if you’re shooting at 50mm, don’t go below 1/50s. At 200mm, stay above 1/200s.
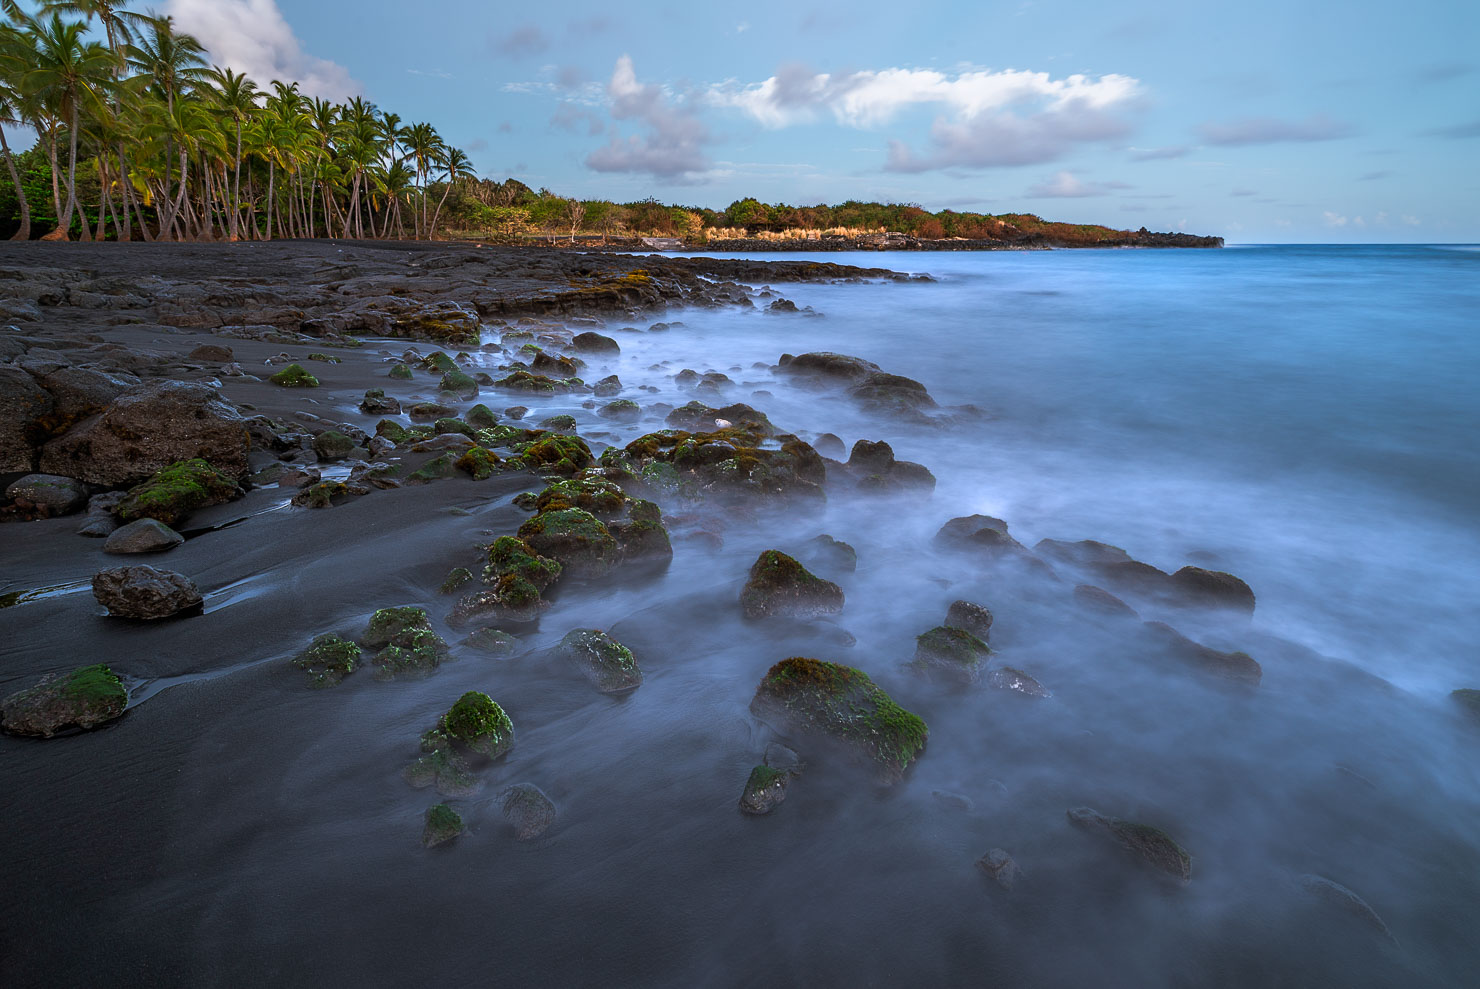
That said, motion blur can be a powerful creative tool. Long exposures of waterfalls, busy streets, or night cityscapes can add energy and drama that a frozen shot simply can’t. When you have a tripod, slow things down and see what happens.
ISO: Keep It as Low as the Scene Allows
ISO controls your sensor’s sensitivity to light. Higher ISO means brighter images but more digital noise. In ideal lighting conditions like golden hour, overcast days, or bright open shade, keep your ISO at its base value (usually 100 or 200). This gives you the cleanest, most detailed files.
In lower light, don’t be afraid to push your ISO. Modern cameras handle high ISO remarkably well. ISO 1600 or even 3200 is often very workable, especially if you’re shooting RAW and doing some noise reduction in post. A slightly noisy sharp photo is almost always better than a blurry one.
White Balance: Get It Right in Camera
White balance is one of those settings that photographers often treat as an afterthought, especially if they’re shooting RAW. But getting it right in camera matters more than most people realize. Even in RAW, starting with an accurate white balance gives you a truer reference point when editing, speeds up your post-processing workflow considerably, and reduces the risk of subtle color casts slipping through on busy editing days.
The good news is that it doesn’t take long to set. Daylight (around 5500K) works well in golden hour light. Cloudy (around 6500K) adds a touch of warmth on overcast days and can be a nice starting point for moody scenes. Shade (around 7500K) compensates for the blue cast you often get in open shade. When in doubt, use a Custom white balance with a grey card for the most accurate result.
Auto white balance has its place, but learning to set it intentionally will make your editing sessions faster and your colors more consistent across a shoot.
A Useful Default Starting Point
When I arrive at a new location and haven’t dialed in the scene yet, I often start here:
- Mode: Aperture Priority (Av)
-
- Aperture: f/8
-
- ISO: Auto (with a max cap of 1600)
-
- White Balance: Daylight or match it to the conditions
-
-
File Format: RAW
-
From there, I adjust based on what the light is doing and what I’m trying to capture. Think of it less as a fixed formula and more as a launchpad.
-
The Real Secret
-
Settings matter, but they matter less than being in the right place at the right time with your eyes open. The photographers who consistently come home with great shots have internalized these basics well enough that they’re not thinking about them. They’re thinking about the light, the moment, and the story they want to tell.
- Get your settings to a place where they’re second nature, and then get out of your own way.
-